
Developer – [Database] provides the function to prepare data to be used for training. After importing images to be trained in the Image List panel, users can label the images in the [Label] tab (click the [  ] button on the top left) and divide data into Training/Validation groups in the [Split] tab (click the
 ] button on the top left). Although the information processed in the [Label] and [Split] tabs are always synchronized as shown in the Image List panel, it is recommended to proceed from [Label] to [Split].
Caution
For training, characters included in the project should have one or more labels.
The following describes the detailed features and structures of each tab.
[Label] Tab
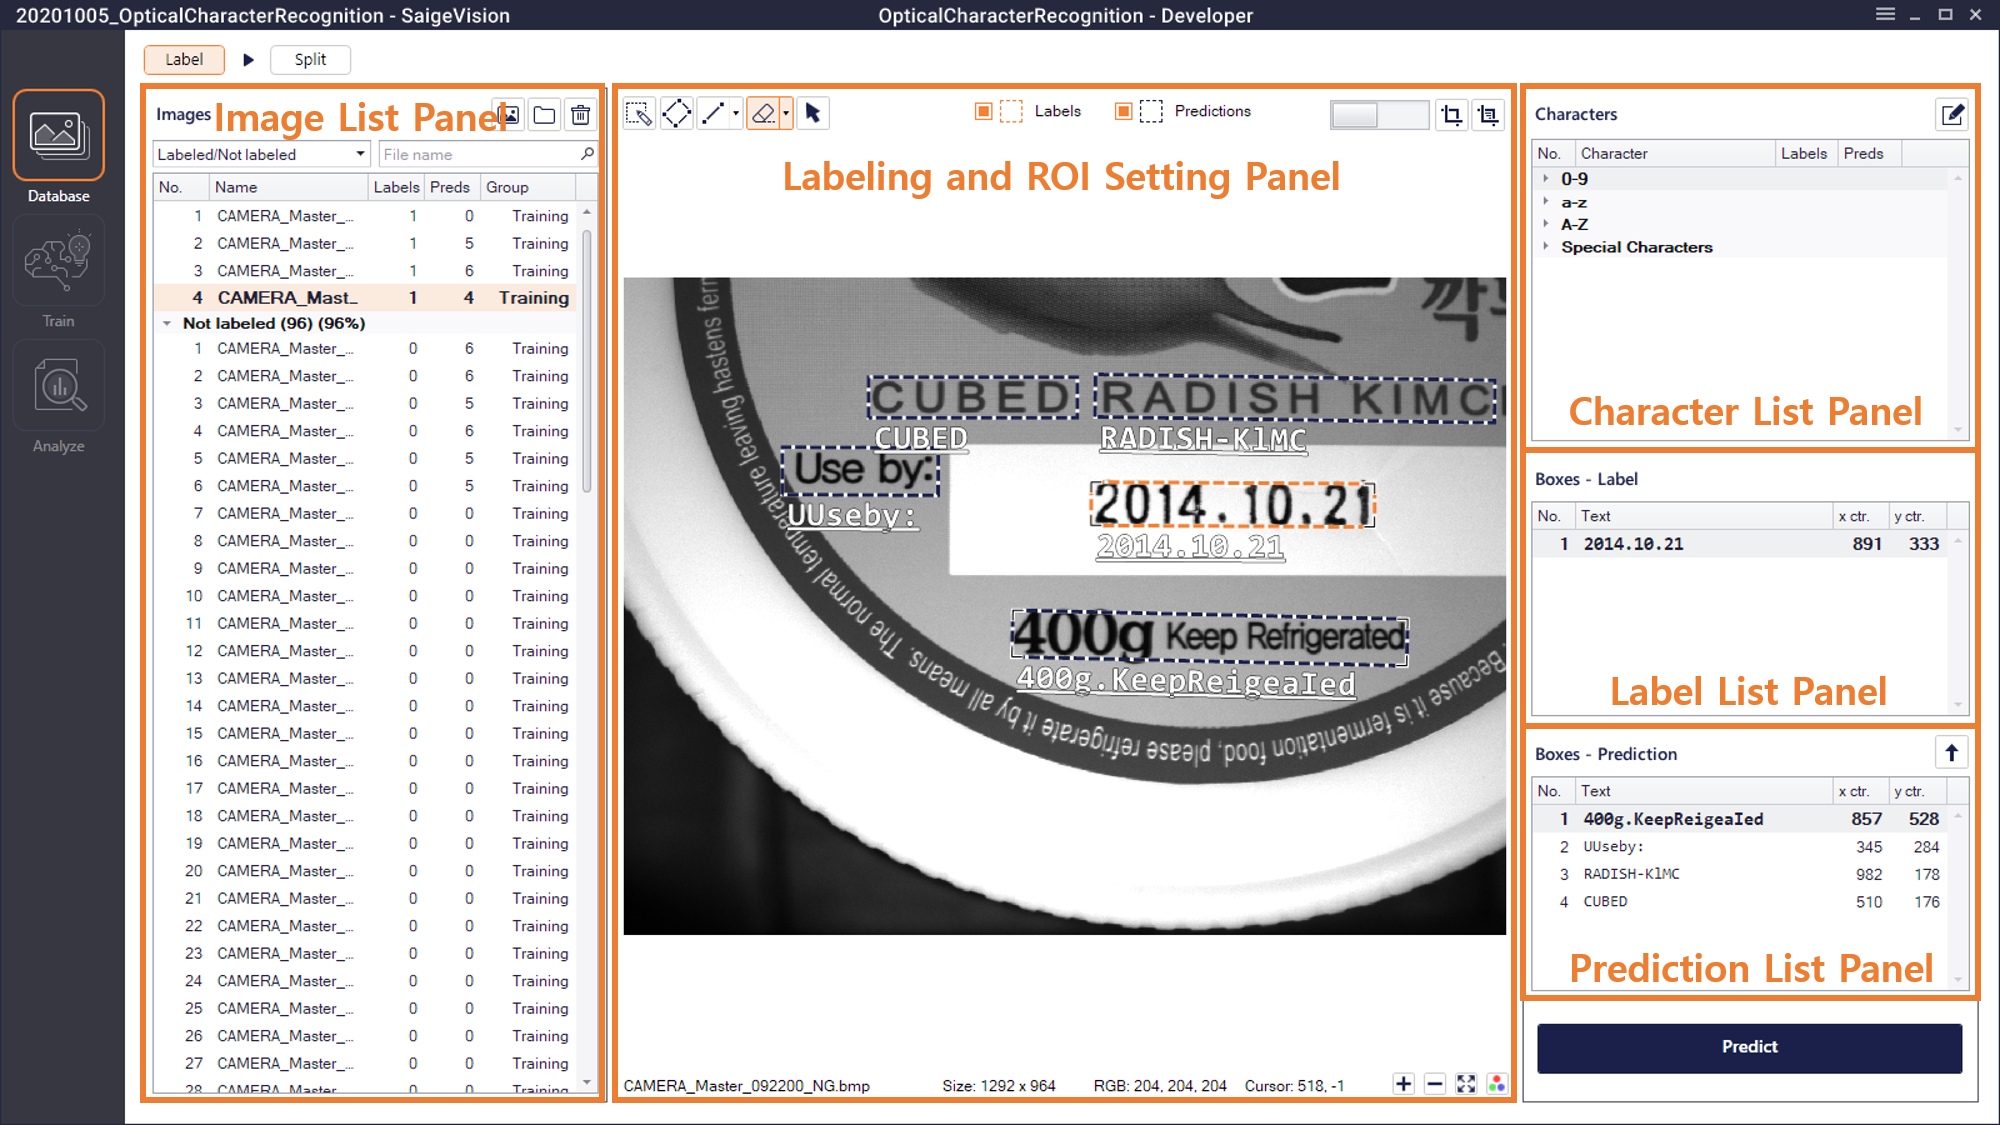
Image List Panel (Images)
This is the same as the Image List panel of Detection and Segmentation modes, except that a column showing the number of predictions is added. By right-clicking the selected items, users can convert predictions to labels or remove predictions of the corresponding images (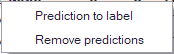 ).
Character List Panel (Characters)
This list shows the supported characters in OCR mode group by group. Each column represents the total number of each character used as labels and predictions respectively in the current project.
 : Click here to open the Edit Characters window where users can select characters to include in or exclude from training and inspection.
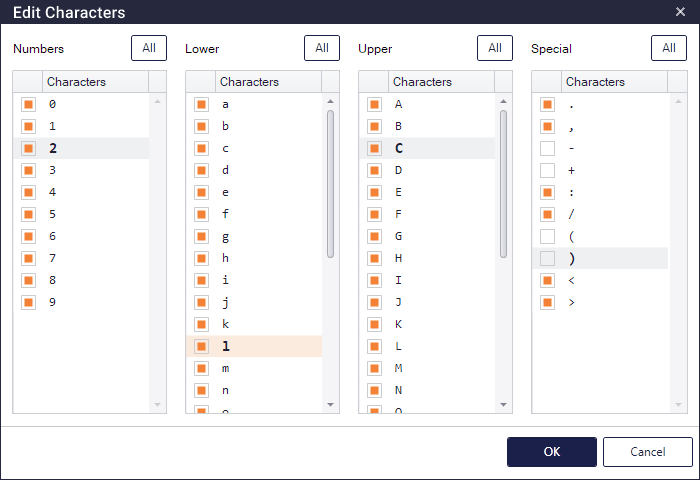
 : Click here to set the inclusion or exclusion of all characters of the corresponding group.
Predict
Users can get predictions which can be converted to labels later using SaigeVision's built-in default model or an user-trained model by clicking [Predict] button (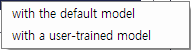 ). When using an user-trained model, a model should be selected in the Load Model window. In the subsequent Inspect Progress window, users can inspect unlabeled images in the current project to generate predictions on those images. The following options can be adjusted.
- Max inspection size: If the size of the image to be inspected is larger than the maximum inspection size, image is resized to the maximum inspection size with the same aspect ratio before the inspection is performed.
- Resize factor: This reduces the size of the entire image or image patch by a given resize factor. The larger the resized image size, the higher the inspection time and GPU memory usage.
Labeling Panel
The labeling process for an image is divided into the first step, adding box-shaped labels to the image, and the second step, setting text on each box label.
To add a box-shaped label, users can draw one using the tools at the top of the image panel or convert a prediction by right-clicking the item on the Image List panel or Prediction List panel.
To set text on a box label, users should enter characters in the Text column of the Label List panel.
Box Labeling Tools in the Image Panel
 : Click to activate the icon. Users can draw a box-shaped label by dragging the mouse cursor over the image while the icon is active.
 : Click to activate the icon. Users can draw a box-shaped label by dotting four times while the icon is active. The drawn box is the smallest bounding box of the four points.
 : Click to activate the icon. Users can draw a box-shaped label by horizontally dotting twice while the icon is active. The height of the box can be adjusted by clicking the
 button.
 : Click to activate the icon. Users can delete labels or predictions by dragging the mouse cursor over the image while the icon is active. The thickness of the eraser can be adjusted by clicking button.
 : Click to activate the icon. Users can select (multiple) labels or predictions by dragging the mouse. While the icon is active, a selected label or prediction can be moved, resized, or rotated on the image panel.
 : Whether to show labels of the image.
 : Whether to show predictions of the image.
ROI Setting Panel
The usage of this panel is the same as that of the ROI setting panel of Defect inspection mode.
Label List Panel (Labels)
This displays information about the number, text, and the center coordinates of each label on the image selected in the Image List panel.
Prediction List Panel (Predictions)
This displays information about the number, text, and the center coordinates of each prediction on the image selected in the Image List panel. By right-clicking the selected items, users can convert the corresponding predictions to labels or remove them ().
[Split] Tab
The usage of this tab is the same as that of the [Split] tab of Defect inspection mode.