
Start
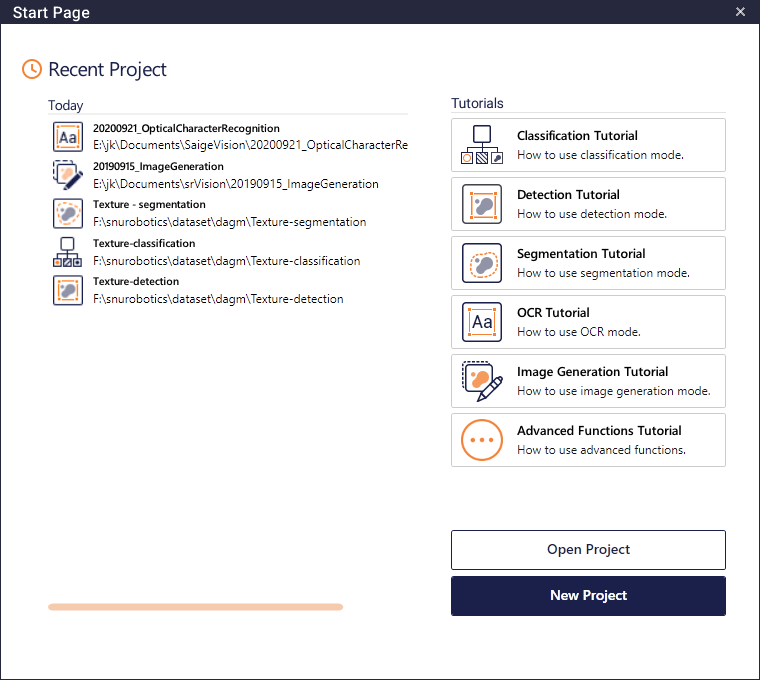
The image above shows the screen first displayed when the program starts. Users can decide which project to start here. A list of recently used projects is displayed, and users can import a project in a different location by pressing the [Open Project] button at the bottom right, or create a new project by clicking the New Project button.
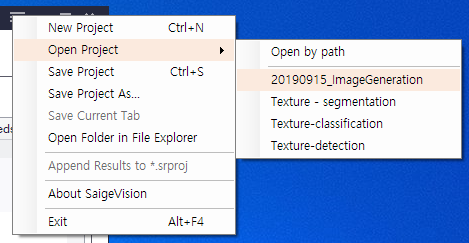
Even after entering the project, users can left-click the Menu button[ ] on the top right of
the interface to save the project in use, import a project, or create a new project. In addition,
users can open the path of the current project in the Windows Explorer by selecting “Open
Folder in File Explorer” from the Option button.
New Project
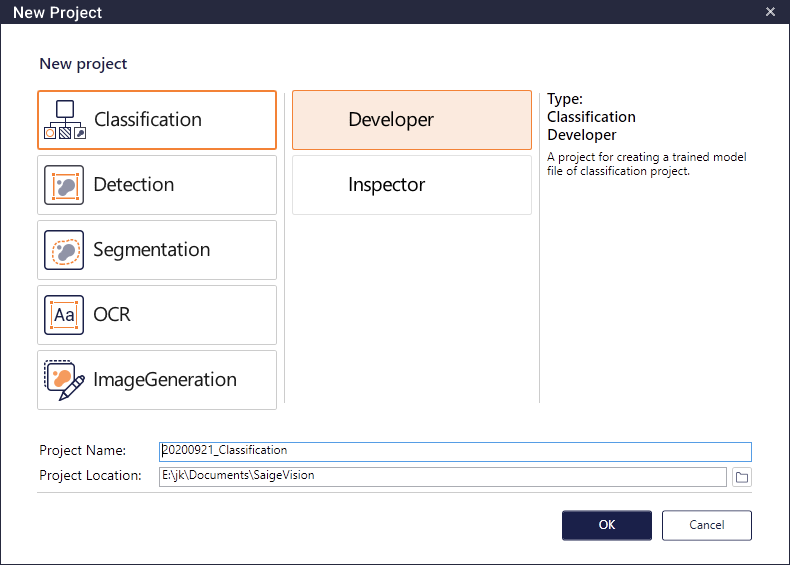
Users can select one of the five modes provided by SaigeVision, and each mode (Classification, Detection, Segmentation, OCR) of the Defect Inspection mode is composed of Developer and Inspector. Developer is a project that trains and verifies information about defects in product images entered by users, while Inspector is a project that inspects new products using the training results.
When different types of images are obtained from a product, users can select Developer - multipage project to train and verify multiple images in an integrated manner. A typical case is when images of a product are acquired under various optical conditions. A model trained in Developer - multipage can be imported in Inspector and used for inspection like any other model.
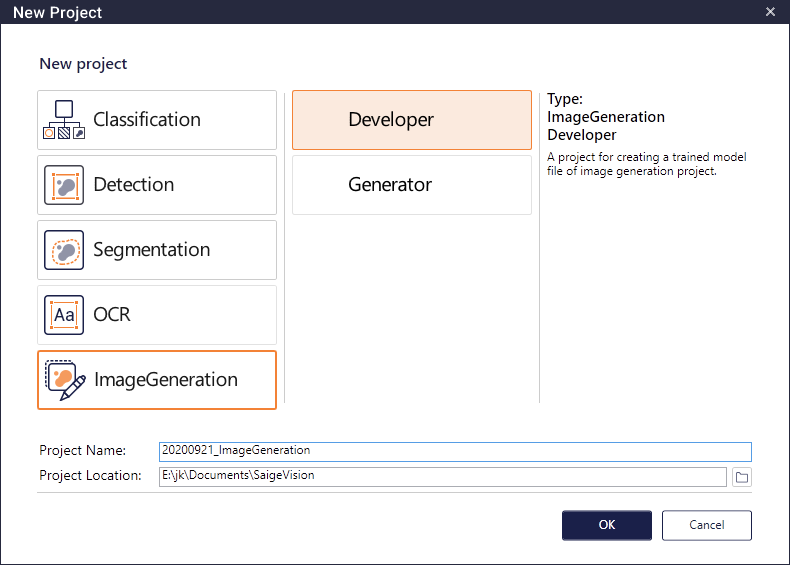
Image Generation mode consists of Developer and Generator. Developer is a project that trains the defects of the product generated by users, and Generator is a project that generates a virtual defect on the desired product based on the training results.
Basic Structure
Defect Inspection Mode and OCR Mode
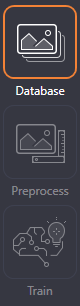
The basic interface of SaigeVision's Defect Inspection mode is composed of tabs and classified according to each function. Developer projects consist of three taps, which include [Database] for importing images for training and entering defect information, [Train] for setting the detailed parameters of training and proceeding with training, and [Analyze] for analyzing the training results of defect information and performing detailed adjustments.
Training results acquired in [Train] are stored in the Models folder inside the project. In [Analyze], detailed parameters for the model saved as training results can be adjusted, and the modified parameters are automatically saved in the model file.
Inspector projects have only one tab of [Inspect]. With this tab, users can inspect the new image for defects or character strings based on the training result acquired from Developer, and also adjust the detailed parameters of the imported model.
Image Generation Mode
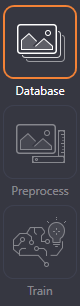
The basic interface of SaigeVision's Image Generation mode is composed of tabs and classified according to each function. A Developer project consists of three tabs, which include [Database] for registering the product and entering defect information in the image of the product, [Preprocess] for aligning the positions of the images and entering information about the region where each defect occurs mainly on the aligned image, and [Train] for setting the detailed parameters of training and proceeding with training. Training results acquired in [Train] are saved in the Models folder inside the project.
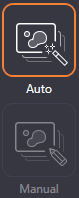
The Generator project consists of two tabs, [Auto] and [Manual]. Each tab represents a mode that generates defects. [Auto] mode automatically generates defects randomly in the designated area on the image, and [Manual] mode generates the shapes of defects as drawn by users in detail.